THE MAKING OF CERAMICS
1. PREPARING THE CLAY
CHOOSING THE MUD
The initial stage in the creation of ceramics involves the selection and acquisition of a flexible and malleable clay. Historically, potters used to extract clay from local sources, relying on their proximity. Presently, certain potters continue to excavate their own clay, to have a interconnectedness with the natural world.
The majority of professional and amateur potters and ceramicists get their clay from local ceramic wholesalers and suppliers. While glazes, oxides, utensils, and tools can be purchased online, we advise not buying clay in large quantities due to its high cost and weight !!
2. KNEADING THE CLAY
GETTING THE CLAY “DOUGH” READY
Kneading is the technique of manually mixing clay by rolling and pressing a ball of clay on a surface, similarly to kneading bread. The goal is to totally homogenize the clay and get rid of any air bubbles.
This is crucial because the presence of air bubbles in the clay can result in explosions in the kiln as the air pockets expand and rupture. All the hard work and attention put into that ceramic piece will be lost, along with any other pieces that are nearby in the oven. If your clay has air in it, you’ll notice holes and bubbles when you cut it with a wire or knead it.
3. MOLDING THE CLAY
BEGINNING TO SHAPE
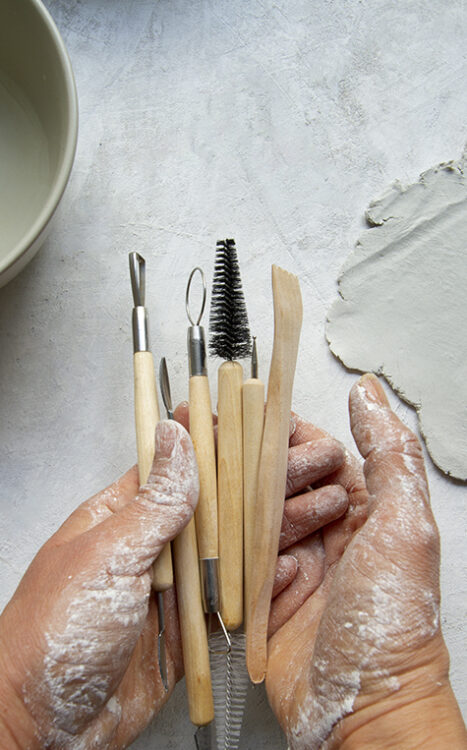
The clay will be completely kneaded before we start to shape or form it. We can use a variety of tools and procedures, including a ceramic wheel, slab building, pinching, etc. These modeling approaches or strategies can be combined or applied separately. If the sculpture or ceramic piece wasn’t finished, you might place it in a plastic bag to prevent moisture loss and allow you to continue working with it after a few days.
4. DRYING THE CERAMIC PIECE

INITIAL DRYING
The clay starts to dry once it has taken its final shape. The clay starts to shrink as it dries out, it loses water, stiffens, and reduces its actual size.
The item will reach what we refer to as leather texture or hardness once it has dried for a few days. In this stage of drying, water is lost through evaporation, which makes the clay more hard and less flexible but also gives it a leathery texture.
This is a great opportunity to put the final touches to the object, such as trimming the base of a bowl, removing excess clay, adding handles to cups by attaching them with slip, inserting ornamental features using various tools and utensils, etc.
The part’s shape can only be changed one more. The shape cannot be altered when the clay has fully dried. the ceramic piece cannot be altered once it has dried entirely.
5. BISQUE FIRING
INTO THE KILN
We will start loading the kiln once we have aquired a sufficient number of completed and dried pieces. We will refer to the initial firing o the ceramic piece as a bisque. This process confers the ceramic piece its hardness and durability.
The temperature at which the kiln shall operate will depend on the clay we are using. There are low and high fire clays, as well as low and high fire glazes, and each of them will determine a different kiln temperature. After the ceramic pieces have undergone the initial firing, they are prepared for subsequent procedures:
6. DECORATING & GLAZING
TIME TO DECORATE
The ceramic pieces are now bisqued and prepared to be decorated and glazed.
The object can be artistically decorated using a variety of tool-based decoration methods, oxides, pigments, or glazes.
Depending on how we are inspired, we can use brushes, sponges, stamps, or we can completely immerse them in one glaze or bathe them in different glazes, spray some portions of the ceramic object and leave others in the open air, or combine different techniques.
To avoid sticking to the floor during the final firing, each piece’s base must be clear of glaze.
7. GLAZE FIRING
RESULTS !!
Again, depending on the clay and glazes we’ve chosen, we will have to fire the ceramic pieces at low or high temperatures. The ceramic glaze is a layer or coat of color applied to the bisque.
This last firing is to remove any remaining porosities making the object waterproof and give the piece a glazed appearance or effect.

 ...
...